Chicken dum biryani
Hey everyone, hope you are having an incredible day today. Today, I will show you a way to prepare a distinctive dish, Chicken dum biryani. One of my favorites. This time, I am going to make it a little bit tasty. This is gonna smell and look delicious.
Chicken dum biryani is one of the most popular of recent trending foods in the world. It is appreciated by millions every day. It's simple, it's fast, it tastes yummy. They're fine and they look wonderful. Chicken dum biryani is something which I've loved my entire life.
Many things affect the quality of taste from Chicken dum biryani, starting from the type of ingredients, then the selection of fresh ingredients, the ability to cut dishes to how to make and serve them. Don't worry if you want to prepare Chicken dum biryani delicious at home, because if you already know the trick then this dish can be used as an extraordinary special treat.
As for the number of servings that can be served to make Chicken dum biryani is 3-4 persons. So make sure this portion is enough to serve for yourself and your beloved family.
Just in addition, the time it takes to cook Chicken dum biryani estimated approx 1 h.
To get started with this recipe, we must prepare a few components. You can have Chicken dum biryani using 51 ingredients and 8 steps. Here is how you can achieve that.
Biryani is an emotion...
You take the name and everyone at my home will feel hungry 😄
So here's how I make chicken dum biryani, giving dum in a rice cooker...
Check out the details!!
#biryani #chicken #rice #cookpad #ESR
Ingredients and spices that need to be Take to make Chicken dum biryani:
- For chicken marination
- 1/2 kg chicken
- Salt to taste
- 1/2 tsp turmeric powder
- 1/2 tsp red chilli powder
- 1 tbsp coriander powder
- 1 tsp cumin powder
- 1.5 tsp biryani masala
- 1.5 tbsp ginger garlic paste
- 200 g curd
- Juice of 1/2 lemon
- handful Fried onion
- 1 tbsp oil
- For fried onions
- 2 large onions (finely sliced)
- Little salt
- Oil for frying
- For chicken preparation
- 40 ml oil
- Whole spices (cardamoms, cloves, cumin, bay leaf, javitri
- black peppercorns)
- 1 onion (large) sliced
- 3-4 fresh green chillies
- Marinated chicken
- Coriander leaves (finely chopped)
- Mint leaves (torn)
- Hot water as needed for masala consistency
- 1 tsp chicken masala
- 1/4 th tsp garam masala
- For rice preparation
- 1/2 kg rice (preferably basmati)
- (But I have used Sona masuri rice)
- 1 tbsp ghee
- Salt to taste
- 1/4 th tsp turmeric powder (optional)
- Whole spices (cardamoms, bay leaf, cloves, black peppercorns
- Shahi zeera)
- 3-4 fresh green chillies
- Coriander leaves (handful)
- 1 tbsp biryani masala
- Hot water (1:2 ratio)
- Few drops of lemon juice
- For layering the biryani
- 1 + 1 tbsp ghee (melted)
- Prepared rice
- Prepared chicken with thick masala gravy
- Coriander leaves (finely chopped)
- Mint leaves (torn)
- Fried onion
- Saffron soaked in warm water/ milk
- Kewda water (few drops)
Steps to make to make Chicken dum biryani
- Start by frying onions. Keep them aside.
Next marinate chicken with the above mentioned ingredients. Keep it for 1 hour atleast, in the fridge.
Next soak rice for atleast 30 minutes.
Strain and keep in a colander.
- Next in a large kadhai, put ghee. As it melts, add into it whole spices. Then add raw rice. Put salt and turmeric powder. Give a nice mix and saute till you get a nice aroma. Then add biryani masala and continue sauteing for some more time.
Next add hot water, green chillies and coriander leaves.
Add lemon juice. Give a nice gentle mix. Cook the rice till it's 80 percent done.

- Keep it aside until layering.

- Next heat a kadhai with oil for preparing chicken.
Put whole spices. Then add sliced onion and fresh green chillies. Saute. Next add the marinated chicken. Keep the flame high. Cook for some time. Then reduce heat and allow it to cook and soften. - As chicken is cooked, add chicken masala and hot water to make a thick gravy.
But do not make it too runny. Let it be on medium heat for some time. Next
put chopped coriander leaves, mint leaves and garam masala. Mix. Let it be on slow heat for some time.
Chicken is ready!! Keep aside.. - Next it's time for layering and giving dum. Give dum for 15 minutes.
In a rice cooker, brush ghee nicely all around the cooker pot. Then put 1/4th cup hot water. Next put a thick layer of the semi cooked rice. Over it put cooked chicken pieces. Next put a thin layer of rice. On it put the masala of the chicken. Upon it put chopped coriander leaves, mint leaves and saffron milk. Next again put another layer of rice. Upon that put chopped coriander leaves, melted ghee, fried onion and kewda water.


- Cover the lid of the cooker and switch on. Let it be on for 15 minutes.
Then switch off. Let it as such for some 10 minutes before serving.
Insert spatula from bottom and takeout the yummy biryani for serving.


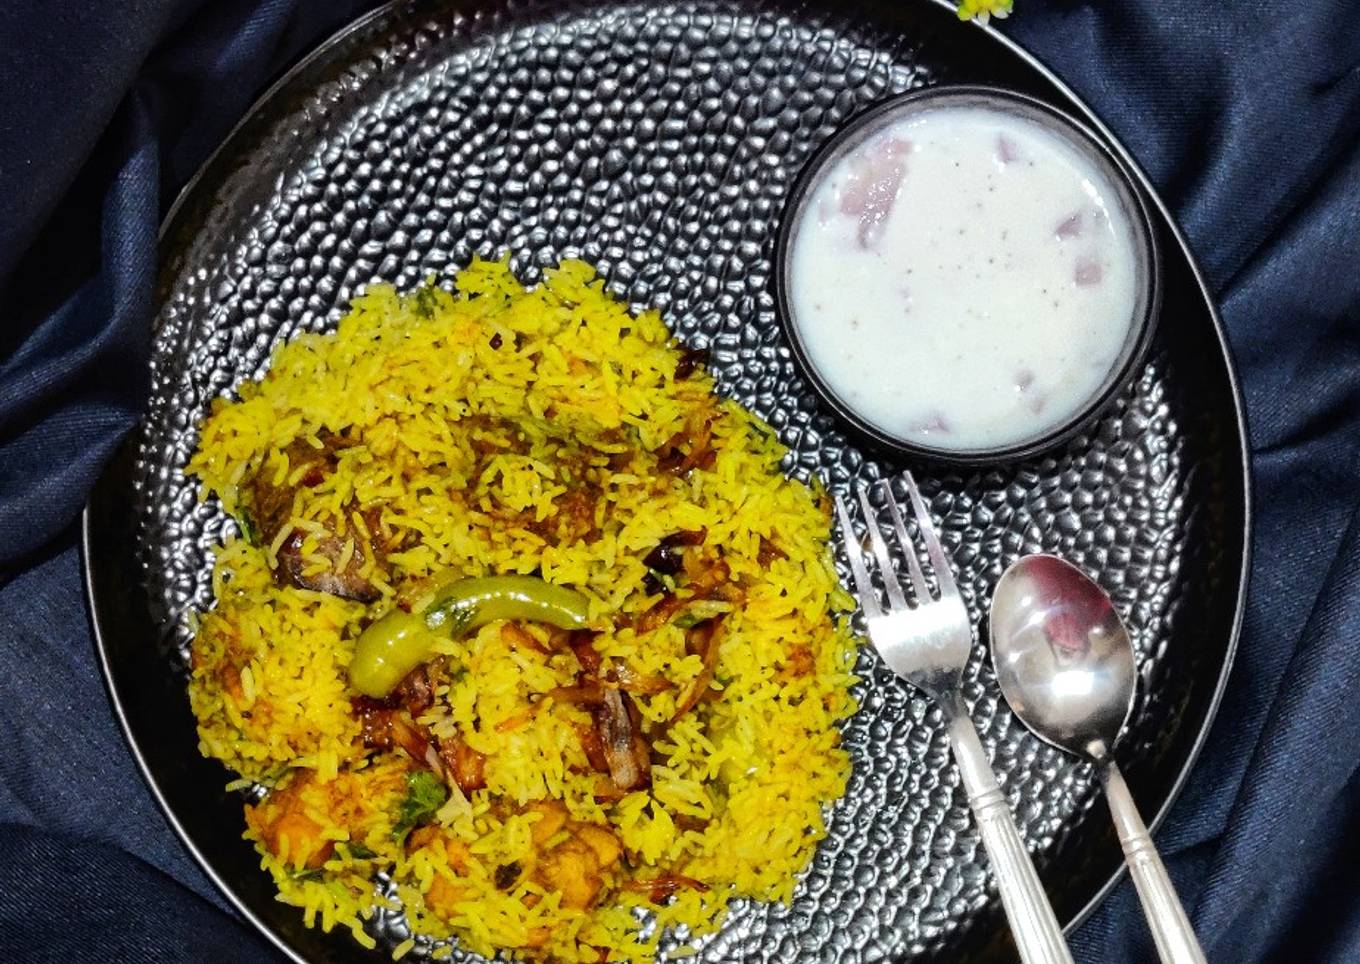
- Serve with raita..
Enjoy!!
As your experience as well as confidence expands, you will locate that you have much more all-natural control over your diet plan as well as adapt your diet to your personal preferences over time. Whether you intend to serve a dish that makes use of fewer or even more components or is a bit basically spicy, you can make simple adjustments to accomplish this goal. Simply put, start making your recipes on schedule. As for fundamental food preparation abilities for beginners you do not need to discover them yet just if you master some basic cooking strategies.
This isn't a full overview to fast and also simple lunch recipes however its great food for thought. With any luck this will certainly get your imaginative juices streaming so you can prepare tasty meals for your household without doing a lot of square meals on your journey.
So that is going to wrap this up with this special food Recipe of Homemade Chicken dum biryani. Thank you very much for your time. I'm confident that you will make this at home. There's gonna be more interesting food at home recipes coming up. Remember to bookmark this page on your browser, and share it to your loved ones, friends and colleague. Thank you for reading. Go on get cooking!


Comments
Post a Comment